How to Get Started with STM32F103RET6 Microcontroller Programming
You want to try programming the STM32F103RET6, but maybe you feel unsure where to begin. Don’t worry—you don’t need any background in microcontrollers to get started. With the right tools and a little guidance, you can bring your ideas to life. If you run into problems, that’s normal! Every beginner faces a few bumps. You’ll soon see how fun and rewarding this journey can be.
Key Takeaways
Gather the right hardware like the STM32F103RET6 board, power supply, programmer, and cables before you start.
Install STM32CubeIDE and necessary drivers to write and upload your code easily on Windows, macOS, or Linux.
Use STM32CubeMX to configure pins and settings, making programming simpler and more organized.
Write your first program by creating a new project, setting a GPIO pin as output, and blinking an LED with simple C code.
Troubleshoot common issues by checking wiring, power supply, and driver installation; use debugging tools and online resources for help.
Requirements
Hardware
Before you start programming, you need a few basic items. Here’s a simple checklist to help you get ready:
A development board with the STM32F103RET6 microcontroller. You can use a ready-made board or a custom one.
A power supply that matches your board’s needs. Most boards use USB power, but some need an external adapter.
Clock circuits. These help your microcontroller keep time and run smoothly. Most development boards have these built in.
Reset circuits. These let you restart the microcontroller if something goes wrong.
Peripheral connections. You might want to connect LEDs, buttons, or sensors, depending on your project.
A programmer or debugger. The ST-Link is a popular choice. You can also use other USB programmers or emulators.
The right cables. Usually, you need a USB cable to connect your board to your computer.
Tip: Most starter kits include everything you need. If you buy a kit, check the box for all the parts before you begin.
Software
You also need some software tools to write and upload your code. Here’s what you should get:
STM32CubeIDE: This is the main program you will use. It lets you write, build, and upload code to your STM32F103RET6 board. It works on Windows, macOS, and Linux.
STM32CubeMX: This tool helps you set up your microcontroller’s pins and settings. It makes configuration much easier, especially for beginners.
C programming language: Most STM32F103RET6 projects use C. If you know a little C, you will feel right at home. If not, don’t worry—many tutorials use simple code examples.
Drivers: You may need to install drivers for your programmer or debugger. These help your computer talk to the board.
Note: You can also try other IDEs like Keil uVision, but STM32CubeIDE is free and easy to use for beginners.
STM32F103RET6 Overview
Features
When you look at the STM32F103RET6, you see a microcontroller packed with useful features. It runs on an ARM Cortex-M3 core, which means it can handle many tasks quickly. You get plenty of memory and lots of ways to connect to other devices. Here’s a table to help you see the main specs at a glance:
Specification Category | Details |
|---|---|
Core Architecture | ARM Cortex-M3 32-bit RISC core running at 72 MHz |
Flash Memory | 512 KB |
SRAM | 64 KB |
Number of Pins | 64 |
Package Type | 64-LQFP (Surface Mount) |
Operating Voltage | 2 V to 3.6 V |
Operating Temperature Range | -40°C to 85°C |
Data Converters | 3 x 12-bit ADCs, 2 x 12-bit DACs |
Timers | 4 x 16-bit timers, 2 x PWM timers, total 8 timers/counters |
Communication Interfaces | CAN, I2C, I2S, IrDA, LIN, SDIO, SPI, UART/USART, USB |
Watchdog Timers | Yes |
Max Power Dissipation | 444 mW |
Supply Current (Max) | 70 mA |
Additional Peripherals | DMA, Motor Control PWM, Power Detection, Temperature Sensor, etc. |
You can use these features for many projects. The microcontroller supports fast communication, has lots of pins for connecting sensors or LEDs, and uses little power. The ARM Cortex-M3 core helps you run your code smoothly and quickly.
Why Use It
You might wonder why so many people pick the STM32F103RET6 when they start learning about microcontrollers. Here are some reasons:
You get a strong balance of power and price. This chip is affordable but still very fast.
The ARM Cortex-M3 core runs at up to 72 MHz. You can handle complex tasks without slowing down.
You have many ways to connect things. The chip supports USB, CAN, I2C, SPI, and more.
You find lots of help online. Many people use this chip, so you can find guides, example projects, and answers to your questions.
Tools like STM32CubeIDE and STM32CubeMX make setup and programming much easier for you.
The chip uses little power, so your projects can run longer on batteries.
You can use simple programming tools and affordable debuggers like ST-Link.
Tip: If you are just starting, you will love how easy it is to find tutorials and community support for the STM32F103RET6. You can build simple projects or try more advanced ideas as you learn.
Setup
Install IDE
You need the right software before you can start programming your STM32F103RET6 board. The main tool you will use is STM32CubeIDE. This program lets you write, build, and upload code all in one place. You can use it on Windows, macOS, or Linux.
Here’s how you can get started:
Go to the STMicroelectronics website and find the STM32CubeIDE download page.
Choose the version that matches your operating system.
Download the installer and run it on your computer.
Follow the on-screen steps to finish the installation. The process is simple and does not take long.
When the installation finishes, open STM32CubeIDE to make sure it works.
You may also need to install drivers for your ST-Link programmer. These drivers help your computer talk to the board. Usually, the STM32CubeIDE installer gives you the option to add these drivers. If you miss this step, you can always install them later from the ST website.
Tip: If your computer does not recognize the ST-Link device, check the Device Manager (on Windows) or System Information (on macOS). You might need to reinstall the drivers.
Connect Board
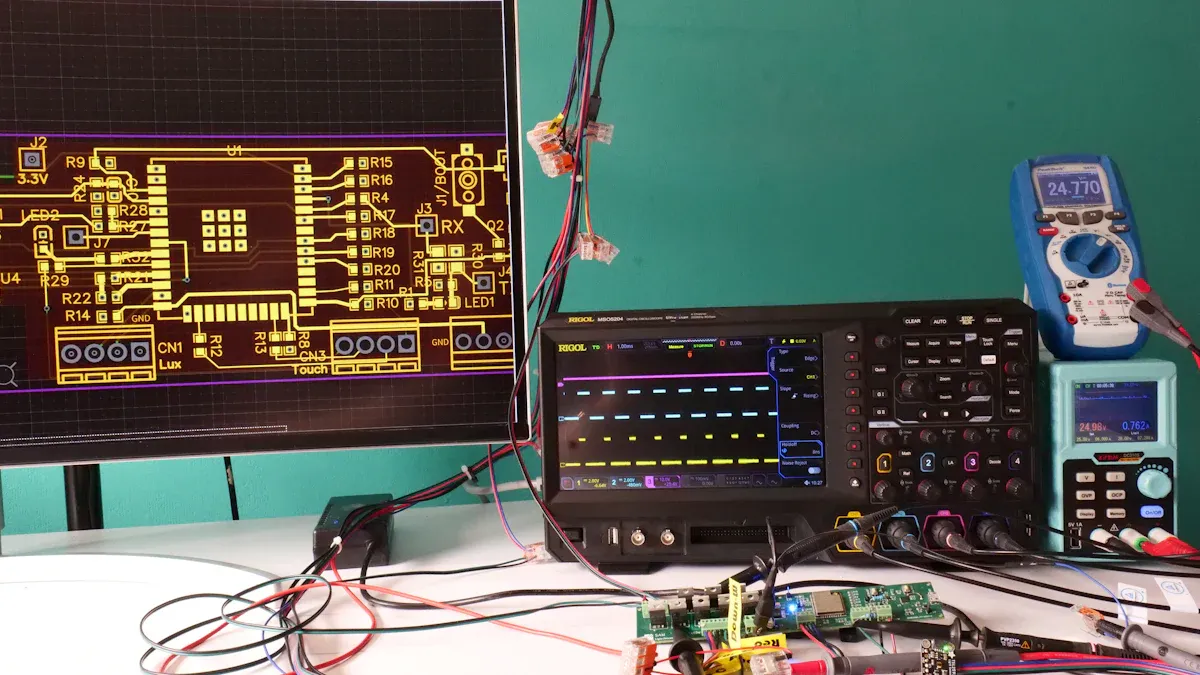
Now you are ready to connect your STM32F103RET6 board to your computer. Most people use an ST-Link programmer for this step. The ST-Link lets you upload code and debug your projects.
Follow these steps to connect everything safely:
Find the SWD interface pins on your STM32F103RET6 board. You will see pins labeled SWCLK (clock), SWDIO (data), GND (ground), and sometimes NRST (reset).
Connect the ST-Link programmer to these pins:
SWCLK on the board to SWCLK on the ST-Link.
SWDIO on the board to SWDIO on the ST-Link.
GND on the board to GND on the ST-Link.
NRST on the board to NRST on the ST-Link. This lets you reset the microcontroller during programming.
Connect the VDD (power supply) pin from your board to the ST-Link’s VDD pin. This step helps the programmer match the signal levels. If your board already has its own power supply, do not connect the 3.3V pin from the ST-Link. This avoids possible damage.
Plug the ST-Link programmer into your computer using a USB cable.
Wait for your computer to detect the device. If you installed the drivers earlier, the connection should work right away.
Note: Always double-check your connections before you power up the board. A wrong connection can stop your STM32F103RET6 from working or even damage it.
Once you finish these steps, your board and computer can talk to each other. You are now ready to write your first program and upload it to the STM32F103RET6.
First Program

You have your STM32F103RET6 board ready and your software set up. Now it’s time to write your first program! Let’s walk through the steps together.
New Project
Start by opening STM32CubeIDE. You will create a new project for your STM32F103RET6 board. Here’s how you do it:
Select File > New > STM32 Project.
In the device selector, type “STM32F103RET6” and pick your chip or board from the list.
Give your project a name you’ll remember, like
BlinkLED.Click Finish to create the project.
The IDE will open a configuration window. This is where you set up the pins and features for your project. For a simple LED blink, you only need to configure one GPIO pin as an output.
Tip: Almost any I/O pin (except power pins) can work as a GPIO. Make sure you enable the peripheral clock for the GPIO port in the RCC settings before you configure the pins. This step is important for stable operation.
To set up the pin:
Find the pin connected to your LED on the board schematic. Common choices are PA5 or PC13.
Click on that pin in the Pinout view and set it as “GPIO_Output.”
Save your configuration. The IDE will generate the code for you.
If you want to use more LEDs or buttons, group related signals on the same GPIO port. This makes your code easier to manage.
LED Blink
Now you get to write your first C code! The goal is to turn the LED on and off in a loop. Open the main.c file in your project. You will see some code already there. Look for the while (1) loop. This is where your program runs forever.
Add the following code inside the loop to blink the LED:
/* Toggle the LED every 500ms */
HAL_GPIO_TogglePin(GPIOC, GPIO_PIN_13);
HAL_Delay(500);
This code tells the STM32F103RET6 to change the state of the LED pin every half second. The HAL_GPIO_TogglePin function flips the pin from high to low or low to high. The HAL_Delay function pauses the program for 500 milliseconds.
If your LED does not blink, check that you selected the correct pin and set it as an output. Pins on the STM32F103RET6 can have multiple functions, so always double-check the mode.
Build and Flash
You are ready to build and upload your code to the board. Here’s what you do:
Click the Build button (the hammer icon) in STM32CubeIDE. The IDE will compile your code and show any errors or warnings.
Connect your STM32F103RET6 board to your computer with the ST-Link programmer.
Click the Debug or Run button (the green bug or play icon). The IDE will flash your code onto the board.
Sometimes, you might see errors during this process. Here are some common problems:
The board does not respond after flashing. This can happen if certain security bits are set by mistake, which can lock the chip.
The IDE cannot connect to the board or shows the chip ID as 0. This might mean the flash memory is corrupted or the security lock is active.
Flashing fails if the boot pins are not set correctly or if the timing is off.
If you run into these issues, try resetting the board or checking the boot pin settings. You can also use the built-in ROM bootloader to recover the chip. Always use the correct tools and settings to avoid these problems.
Note: If your board becomes unresponsive, don’t panic. Most of the time, you can recover it by following the steps in the datasheet or using the STM32CubeIDE’s recovery tools.
Debug
Debugging helps you find out what your program is doing. STM32CubeIDE makes this easy. Here’s how you can use it:
Click the Debug button. The IDE will upload your code and start a debug session.
You can set breakpoints by clicking next to a line number in your code. The program will stop at these points so you can check variables and pin states.
Use the step buttons to run your code one line at a time. Watch how the LED changes as you step through the code.
If the LED does not blink, check the pin configuration and make sure the clock for the GPIO port is enabled.
Debugging is a powerful tool. You can see exactly what your STM32F103RET6 is doing and fix problems quickly. Try changing the delay or adding more LEDs to see what happens.
Tip: If you ever get stuck, look for help in online forums or the STM32CubeIDE documentation. Many people have solved the same problems before you.
Now you have written, built, flashed, and debugged your first program! Your LED should be blinking, and you have taken your first big step into the world of microcontrollers.
Troubleshooting
Common Issues
You might run into a few bumps when you start programming your board. Don’t worry—these problems are common, and you can fix them with a little patience. Here are some issues you might see:
Your programmer, like the SEGGER J-Link, can’t detect the target. This often happens when the VTRef pin (pin 1 on the JTAG header) isn’t connected to the board’s 3.3V supply. Without this, the programmer can’t figure out the right voltage for the debug interface.
You feel unsure about which pins to connect. Double-check the power supply voltage at the microcontroller pins. If the voltage is too low or missing, the board won’t work.
The J-Link shows a 0.000V target voltage or fails to connect under reset. This usually means there’s a power supply problem or the wiring isn’t right.
You use the wrong adapter. The J-Link Supply Adapter gives the needed voltage reference if VTRef isn’t connected.
Upload failures happen a lot because of improper wiring. Not connecting pin 1 (VTRef) to 3.3V is a common mistake.
Sometimes, the firmware upload fails because the bootloader expects a specific firmware offset. If the offset in your IDE doesn’t match, the upload won’t work.
Tip: Always test with a simple program, like toggling a GPIO pin, before moving on to bigger projects.
Tips
You can solve most problems with a few simple checks:
Use debug mode in your IDE to watch what’s happening step by step.
Check all your wiring. Make sure VTRef connects to 3.3V and the reset pin voltage looks right. The reset pin has an internal pull-up resistor, so you don’t need to add another one.
If you see strange voltages (like 1.23V) on the reset pin, remove any extra pull-up resistors.
Share your schematic if you ask for help online. This helps others spot mistakes quickly.
Try uploading a basic program first. If it works, your setup is good.
If you get stuck, look for the AN2586 document. It has lots of hardware tips for beginners.
Forums and tutorials can save you time. Many people have solved the same problems you face.
Note: Most issues come from wiring or configuration mistakes. Take your time and double-check each step. You’ll get the hang of it!
You’ve just taken your first steps into microcontroller programming! Here’s what you gained:
You learned how to set up your board and IDE.
You practiced configuring GPIO and blinking an LED.
You built skills in debugging and reading datasheets.
Ready for more? Try exploring these advanced features:
Feature | Why Try It? |
|---|---|
Make sensors and motors work | |
Communication | Connect with other devices |
USB & CAN | Build real-world projects |
Keep experimenting, ask questions, and check out online forums or datasheets. Troubleshooting is part of the fun!
FAQ
How do I know if my STM32F103RET6 board is working?
Plug in your board and look for a power LED. If it lights up, your board gets power. You can also try uploading a simple blink program. If the LED blinks, your board works!
What should I do if my code won’t upload?
First, check your cables and connections. Make sure the ST-Link is plugged in right. Restart your IDE and board. If it still fails, try a different USB port or cable.
Can I use Arduino code with STM32F103RET6?
You can use the Arduino IDE with STM32 boards by installing the STM32duino package. Some Arduino code works, but you may need to change pin names or libraries.
Why does my LED stay on or off all the time?
You might have picked the wrong pin.
The pin may not be set as output.
The LED could be connected backward.
Check your wiring and pin settings in the IDE.
See Also
A Beginner's Guide To Microcontrollers And Flash Memory
Step-By-Step Instructions To Program And Set Up 555 Timer
Best Microcontrollers To Use In Embedded Systems For 2025
Exploring Industrial D Flash Microcontrollers And Their Uses
Selecting The Best Low-Power MCU For Your Electronics Project